
TABLE OF CONTENTS
Page Speed Impact
Setup Instructions
Page Speed Impact
Low - The code highlighting will load a small third-party library which does not have a significant impact on page performance
Take a look at our performance guide to get your website running its best!
Setup Instructions
Helpful Links: Settings for Theme Styles
Code Highlighting is set up in two steps. First, the theme settings have to be updated to include the code languages and set the style options; then the HTML tag has to be placed to create the inline code or code block.
Automatic Code Highlighting for POWER Theme
Theme Settings → Styling → Code Highlighting
Code Highlighting is enabled by default and includes 11 languages that are styled automatically.
Additional languages can be configured in the Theme Settings, with over 150 programming languages to choose from.
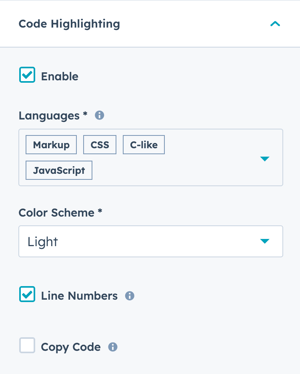
Within the theme settings, you can choose Light or Dark color scheme, decide whether to include line numbers and also choose whether the code can be copied.
Add Code Highlighting to Your Website Text
There are two HTML tags that you can use in text fields and rich text editors throughout the modules, using the code HTML tag will create inline styling, and using the pre HTML tag combined with the code tag will create a code block.
There are two ways you can add the tags, one is through the WYSIWYG editor (the toolbar) and the other is by editing the source code.
Adding Code Syntax with the WYSIWYG toolbar
This method allows you to apply the necessary tags without editing the code directly. There are two settings that need to be updated to create a code block, but only one if you are adding inline code.
Page Editor → Module → Rich Text Editor → More → Code Format
All code will need to have the code format applied, for both inline code and code blocks.
From the rich text editor, first highlight the text you need to apply the code highlighting to, then click More, and then click the code format icon.
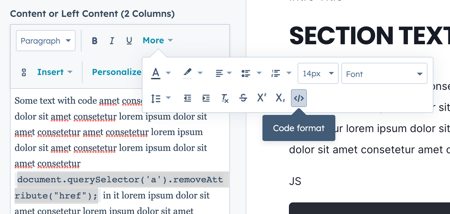
This will apply the code HTML tag and apply the syntax styles.
Page Editor → Module → Rich Text Editor → Style Control
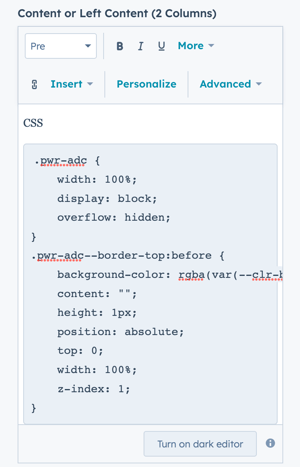
To create a code block, the pre tag also needs to be added. This is necessary if you want to use the copy function.
With the code text still highlighted, from the toolbar, click on the Style Control (most likely shows "Paragraph" by default) and change to "Pre" to apply the pre HTML tag and create the code block.
Page Editor → Module → Rich Text Editor → Advanced → Source Code
If you prefer working with code, you can add the pre and code tags directly via the source code editor.

To apply syntax highlighting to inline code, you will need to add the code Tag around your programming language:
To create a code block, you will need to add the pre and code Tags around your programming language: