


Filtering is available with the POWER Sec Image Boxes, Sec Video, Sec Testimonials, and Sec Simple Listing modules and can be used for a variety of page layouts to organize content so that it can be filtered by the user without refreshing the page.
Add Filters to Your Website Content
Marketing → Website → Website Pages → [module with filtering]
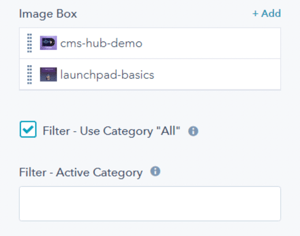
First, you can decide whether to include a base category that includes all content.
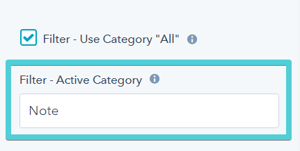
Check the box next to Filter - Use Category "ALL" to turn on this feature.
Once you check the box, you'll see ALL available as an option on the page: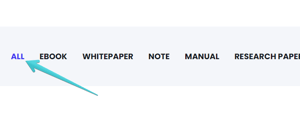
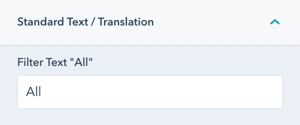
If you would like to change the word ALL to something else, you can scroll down to the Standard Text/Translation module settings and update to whatever makes the most sense for your content or translate to your desired language.
Another option available is to set one of your categories to display as the default category instead of ALL.
If you do not have ALL selected, the first category on the list is the default. If you would like to pre-filter the list on page load, you can set one of your categories to be the default using the text box called Filter - Active Category shown here:
The last setting to control the filter function is to choose a Filter Layout, whether you want the categories in a list (horizontally) or a dropdown:
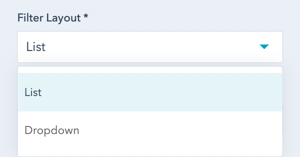
Here is an example showing the Dropdown layout for Filters:

Filter Style Settings
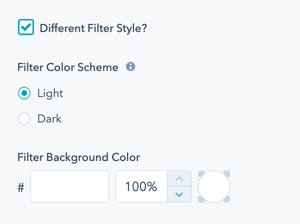
In addition to the other style settings for the module, you will see a Different Filter Style? checkbox, when selected you can change the Filter Color Scheme and add a Filter Background Color.
Adding Categories
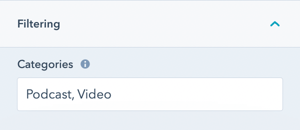
There is not a centralized list of categories to set up or choose from, when you create content, you'll just add the appropriate categories (tags) to the content and those categories will be added to the list of available filters.
For the Content, you'll see a setting called "Filtering" with a text box for "Categories" where you will add the tags. This list should be comma separated, which means that you will need a comma and a space following each tag. You can add multiple tags for a single content item, or use a single tag - just make sure you are consistent across all content and that the wording is the same.